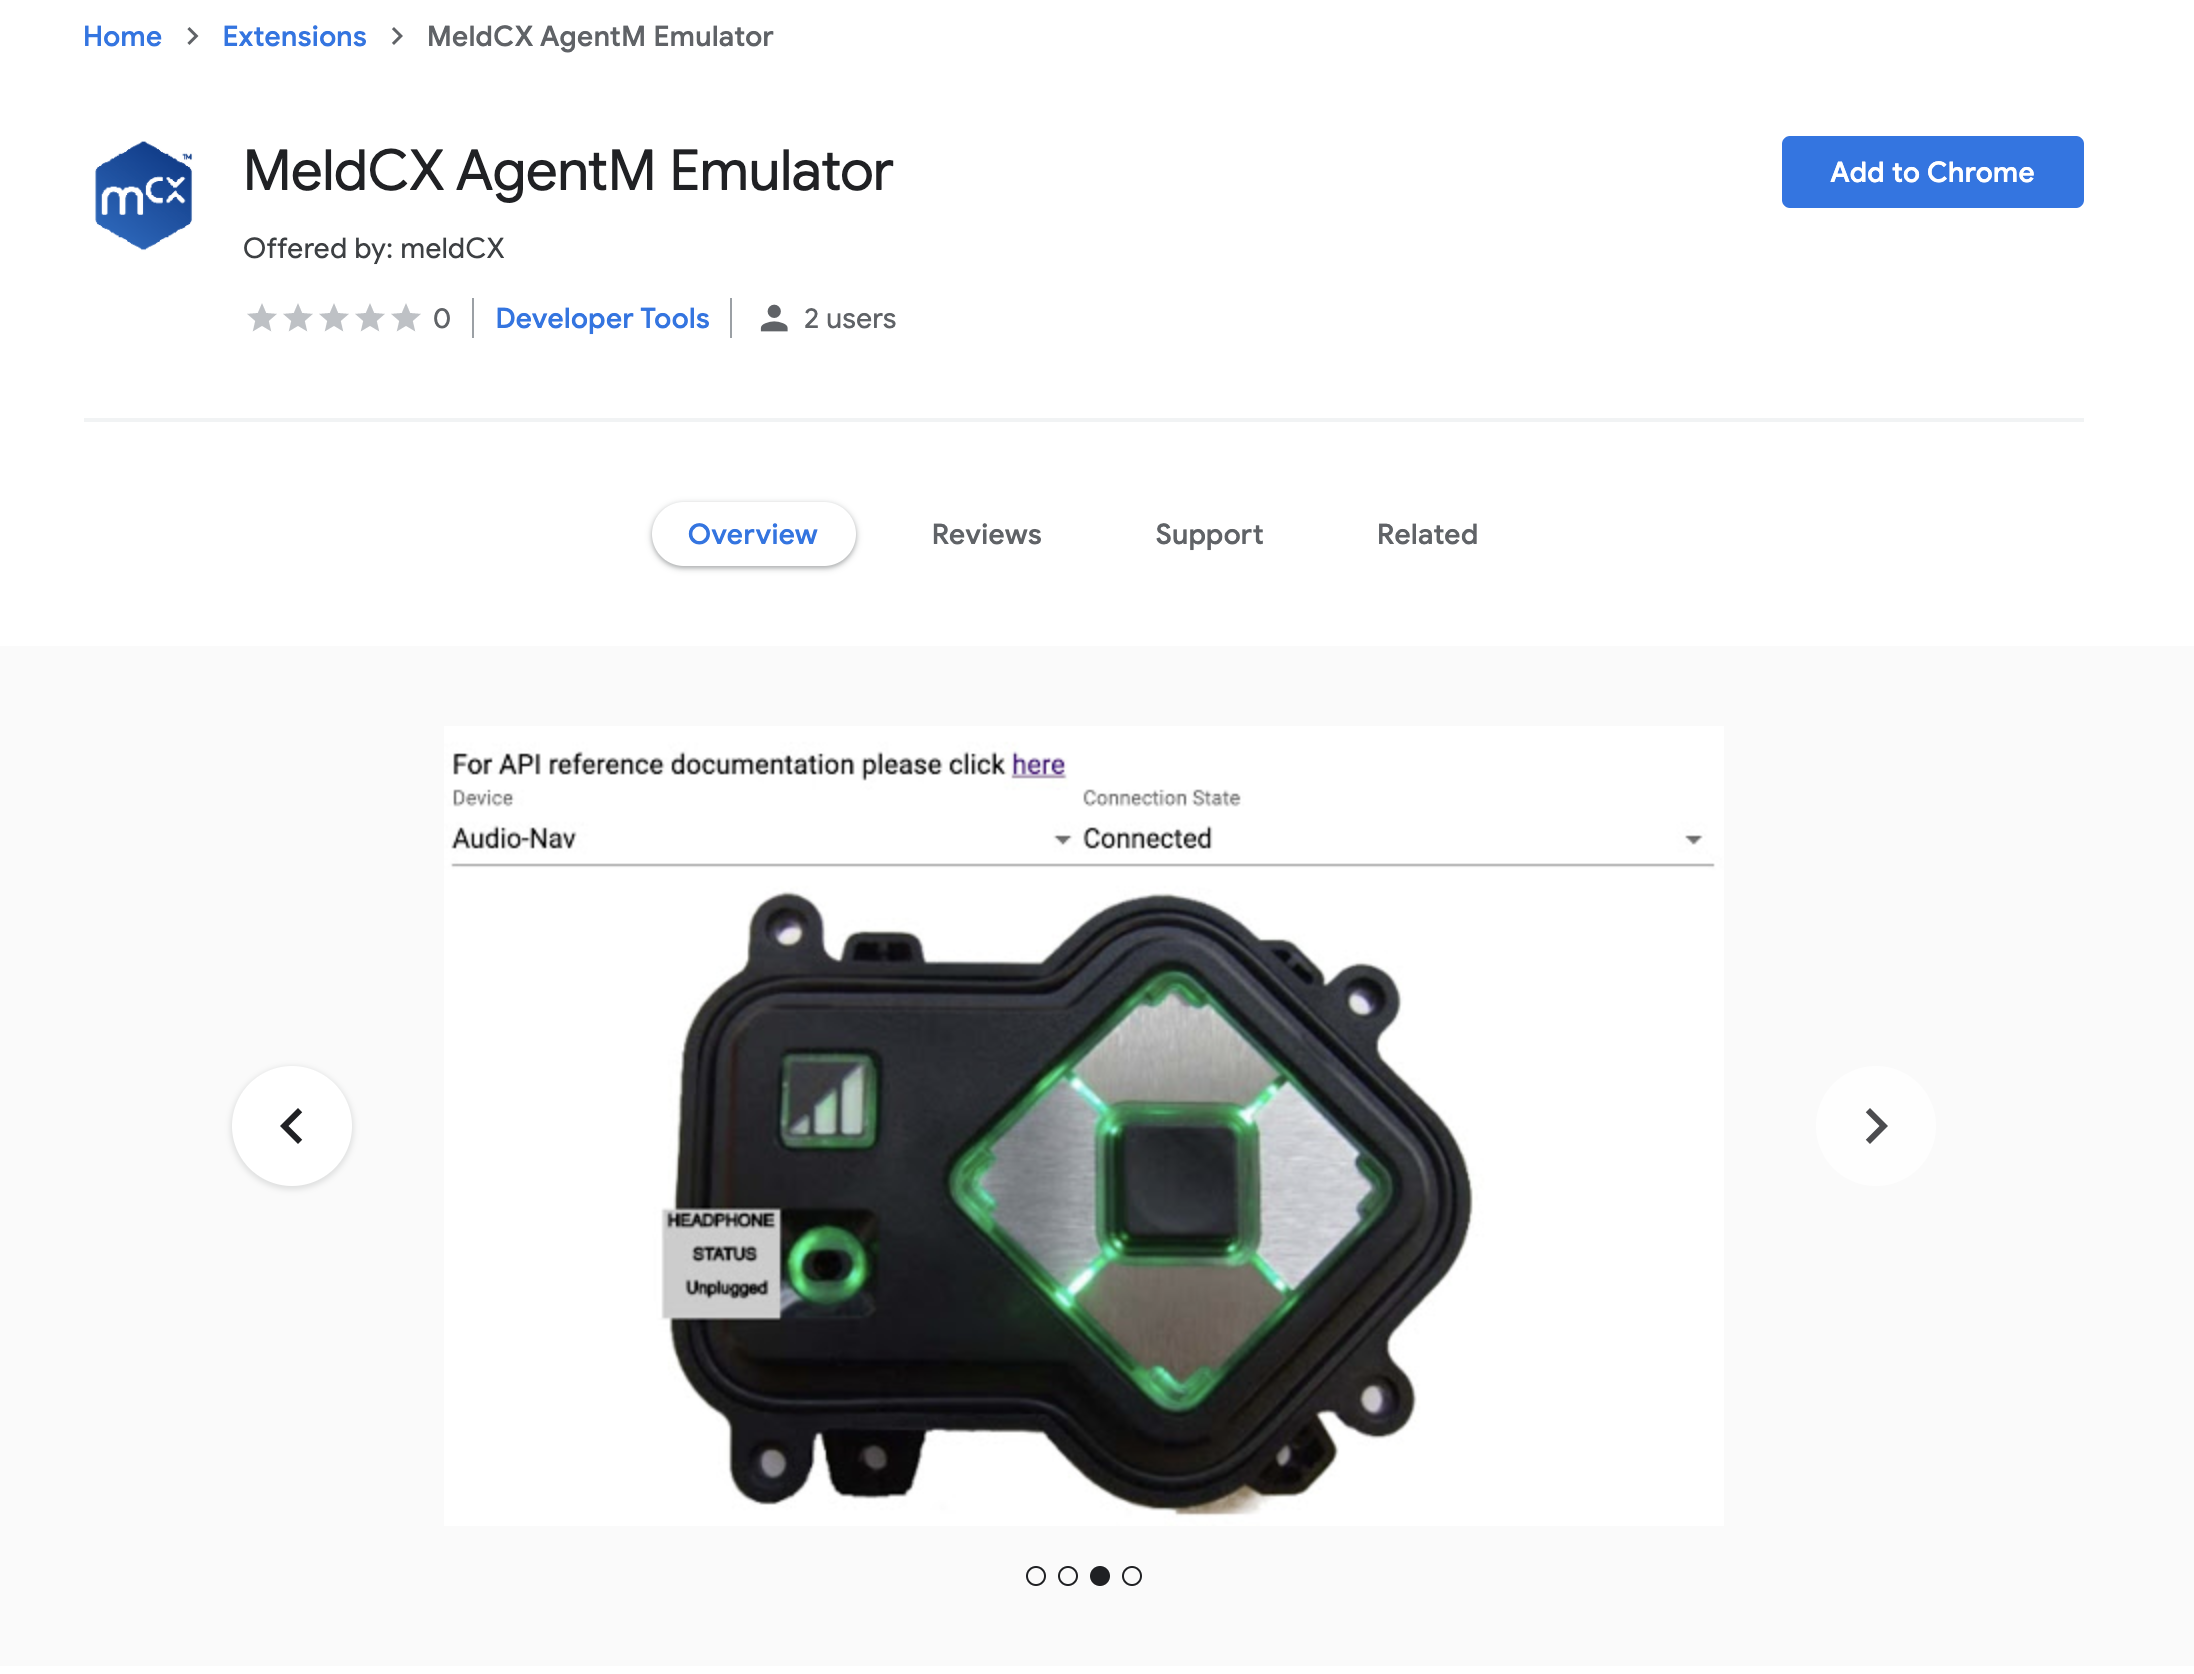
This article covers how to install and use the agentM Emulator Chrome Extension. This extension allows you to test your applications in your browser, without needing to have a physical meldCX device.
Installation Guide
agentM Emulator Chrome Extension can be installed using the direct URL in Chrome Webstore:
https://chrome.google.com/webstore/detail/meldcx-agentm-emulator/bhkhlpnafkfgclfblpkaiklloaebmelh

agentM Emulator Chrome Extension can also be installed as a downloadable package:
- Download the following package: http://assets.meld.cx/agent/emulator/dist-1-0-54.zip
- Once downloaded, unzip it and note the package folder
- Open the following page in your Chrome browser: chrome://extensions/
- Make sure that you have the developer mode enabled

- Add meldCX agentM Emulator to your extension list using the “Load Unpacked” button and selecting the Emulator package folder

- You should see the following extension in your list:

- You should also be able to see the button with the meldCX logo in the top right corner of your Chrome browser window. This opens the meldCX agentM Emulator UI

How do I use the agentM Emulator Extensions?
- Click on the meldCX extension, select the menu icon and then tick the pages you would like the emulator to be enabled on. In this example I have approved http://localhost:9991

Try the meldCX RFID example application
- Clone the following repository into your local folder: https://github.com/MeldCX/card-reader-simple-example
- Install HTTP server for development, for example
`npm install -g http-server-spa` - Switch to the “card-reader-simple-example” folder and host it locally on your computer using the HTTP server for development
`http-server-spa ./ index.html 8081` - Open the RFID example application in your browser: http://localhost:8081/
- You should be able to see the following UI:

- Open meldCX agentM Emulator UI and go to the ”Pages” menu

- You should be able to find and select the http://localhost:8081/ page in the list. If done properly, you will see it changed its colour to green.

- Now you can use the RFID example application UI and also change the RFID Emulator using the dedicated “RFID Writer” menu in the meldCX agentM Emulator UI:

Explore RFID API documentation
- Go to https://docs.meld.cx/ and read the meldCX developer reference
- Open a dedicated page for RFID API https://docs.meld.cx/Agent.RFID.html and try using it in your application
- Look inside our RFID example application and explore the code https://github.com/MeldCX/card-reader-simple-example/blob/master/index.html

Device and Display Options
Reference Docs
https://docs.meld.cx/accessibility-example/
https://docs.meld.cx/Agent.Device.html#addDeviceOption
https://docs.meld.cx/Agent.Device.html#getDeviceOptions
https://docs.meld.cx/Agent.Device.html#addOption
https://docs.meld.cx/Agent.Device.html#getOptions
- Select Options from the side menu
- Add options then enter option Names and option Values

Downloader
Reference Docs
https://docs.meld.cx/Agent.Downloader.html
- Use the above agentM APIs to download cross-origin content
- Select Downloader from the side menu
- When the download is triggered you should see the following

App Switching
Reference Docs
https://docs.meld.cx/Agent.App.html
- Select 'Appswitcher' from the side menu
- Add the URL fo the pages you would like your app switcher to switch between (if these use agent library functions you will need to approve them in the previous step)

This is an evolving guide which will cover all the features of the agentM API, including stubbed peripheral devices. Please keep an eye out here for further updates
If you have any question about this emulator or how to use it please contact help@meldcx.com for some assistance.

Comments
0 comments
Please sign in to leave a comment.